

Digitize Logo for Elna Embroidery Machine: A Beginner’s Complete Guide
So, you’ve got an Elna embroidery machine, a brilliant logo idea, and the excitement to create something unique. But then, a question pops up: how do you get that perfect image from your computer screen onto fabric? This is where the magic of digitizing comes in. Think of it as translating a visual image into a language your embroidery machine understands—a series of commands that tell the needle where to go, what kind of stitch to make, and in what order. It might sound complex, but with a step-by-step approach, you can learn the process of how to digitize logo for Elna embroidery machine.
This guide is designed to take you from a complete novice to someone who can confidently create a simple, stitchable file. We will walk through the entire journey, from preparing your artwork to finally stitching out your design, all tailored for your Elna machine.
Understanding the Basics: What is Digitizing, Really?
Before we dive into the software, let’s get our heads around the core concept. Digitizing is not simply opening a picture in a program and clicking an "auto-embroidery" button. While auto-digitizing tools exist, they often produce less-than-ideal results. True digitizing is a craft. You are essentially creating a blueprint for your embroidery machine.
You decide the path the needle will take, the type of stitches it will use—like satin stitches for borders or fill stitches for large areas—and the density of those stitches. Getting this blueprint right is what prevents thread breaks, puckering fabric, and designs that just look messy. Your Elna machine is a precise tool; it will stitch exactly what you tell it to, so the quality of your digitizing directly determines the quality of your final product.
Step 1: Choosing Your Digitizing Software
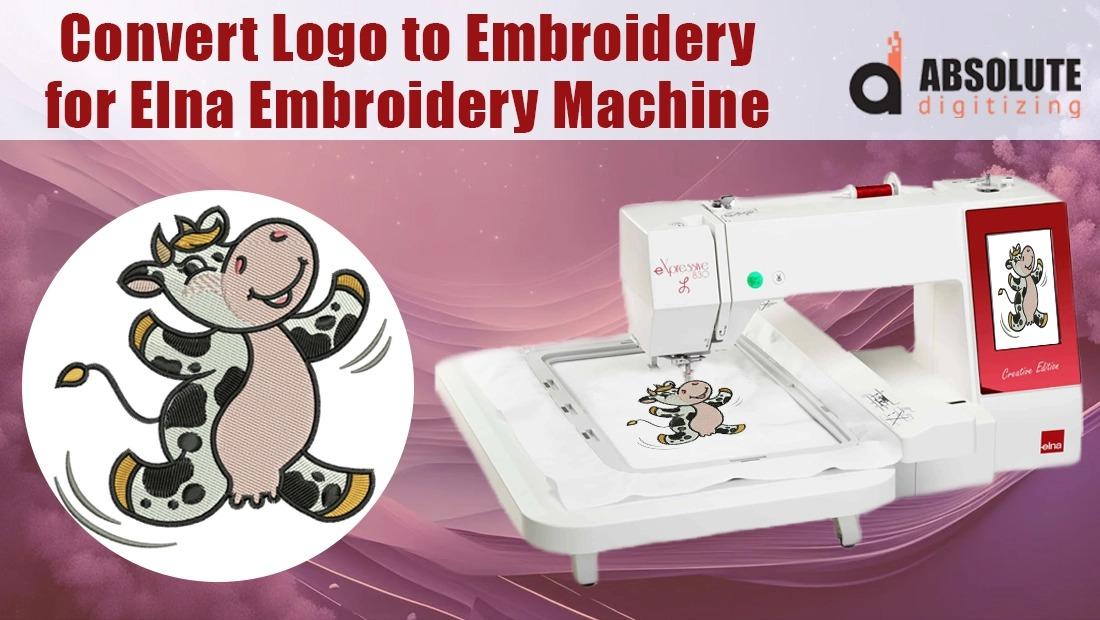
Your Elna machine cannot read a JPEG or PNG file directly. It needs a specialized embroidery file format. For Elna machines, this is typically the .EXP format. To create an .EXP file, you need digitizing software. Your options range from basic programs that came with your machine to more advanced, dedicated software you purchase separately.
Many beginners start with a program like SewArt or a similar auto-digitizing platform to get a feel for the process. These can be a good starting point, but for consistent, professional results, investing in a more robust software like BES Blue, Hatch, or Embrilliance is worthwhile. They offer greater control and produce cleaner files that your Elna will love.
Step 2: Preparing Your Artwork for Success
You cannot digitize a blurry, complex image and expect a clean embroidery result. Preparation is key. Start with the simplest, cleanest version of your logo you can find. Vector files (like .AI or .EPS) are ideal because they are made of clean lines and shapes. If you only have a raster image (like a .JPG or .PNG), open it in a basic photo editor and increase the contrast to sharpen the edges.
Simplify, simplify, simplify. Tiny text and intricate details might not translate well into stitches. Look at your logo and identify the core elements. Can you remove any super-fine lines or subtle gradients? Embroidery works best with clear, defined areas of color. A well-prepared image sets you up for a smooth digitizing process.
Step 3: The Core Digitizing Workflow
Now for the main event. While every software has its own interface, the general workflow remains consistent.
First, you import your prepared image into the software. This will be your background guide. Next, you start "traced" the design using the software's tools. You are not drawing; you are creating individual objects for each color and element.
For each object, you assign a stitch type. Use a Running Stitch for very fine details and outlines. A Satin Stitch is perfect for text and borders; it creates a smooth, glossy column. For filling in larger areas, you use a Fill Stitch. As you assign these, you also set the stitch direction and density. A critical step everyone forgets at first is adding Underlay. This is a base layer of stitching that stabilizes the fabric and helps your top stitches look smooth and prevents puckering.
Step 4: Key Settings for Your Elna Machine
To make sure your design stitches out perfectly on your specific machine, you need to adjust a few settings within your digitizing software.
First, check the file format. When you save or export your design, you must select .EXP for your Elna machine. Next, pay attention to the size. It is easy to accidentally digitize a design that is too large or too small for your hoop. Always know the dimensions of your hoop and design within those limits. Finally, be mindful of your color stops. The software will show the order in which colors will be stitched. You can rearrange this sequence to be more efficient, minimizing thread changes where possible.
Step 5: The Test Stitch-Out is Non-Negotiable
You have created your first .EXP file. Do not, under any circumstances, stitch it directly onto your final project. This is the golden rule of digitizing. Hoop up a piece of similar fabric to your final project, along with the appropriate stabilizer, and run a test.
Watch the design as it stitches. Take notes. Are there thread breaks? Is the fabric puckering? Are there gaps between the stitches? This test run is not a failure; it is your most valuable feedback tool. It tells you exactly what you need to go back and fix in your software.
Step 6: Troubleshooting Common Issues
Your test stitch will likely reveal some areas for improvement. Here is how to fix common problems.
Puckering Fabric: This usually means your stitch density is too high. The fabric is being overwhelmed with too many stitches. Go into your software and reduce the density setting for your fill stitches.
Gaps Between Stitches: This is often a pull compensation issue. The thread pulls as it stitches, creating small gaps. Increase the pull compensation setting in your software to overlap the stitches slightly.
Design Feeling Loose or Unstable: You probably skipped or underused the underlay. Go back and add a solid underlay stitch, like a center-run or edge-run, to anchor your top stitches.
Conclusion: Your Journey Has Just Begun
Learning to digitize a logo for your Elna embroidery machine is an incredibly rewarding skill. It unlocks the full creative potential of your machine, allowing you to personalize anything from towels to t-shirts with your own unique designs. Your first few attempts might not be perfect, and that is completely okay. Every professional embroiderer started right where you are now.
Embrace the test stitch as a learning tool, be patient with the process, and don't be afraid to go back and tweak your digital blueprint. With practice, you will develop an intuition for how a digital design will translate into physical stitches. So, fire up your software, start with a simple logo, and take that first step toward becoming not just an embroiderer, but a true digital crafter.